The Blister
THE BLISTER
Within this week’s lecture, we were being assessed on
shaping and forming a blister from metal sheeting. When we presented ourselves
within the design labs, we came were introduced by Russell who gave us a
theoretical lesson on how to form and shape the blister. We were instructed that
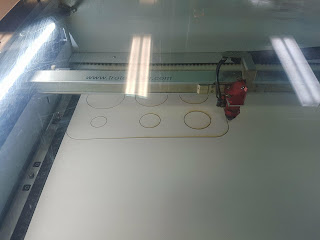
we will be forming our templates via CNC Machines which Edward had cut for us.
 |
| CNC Machine creating the templates |
One we had both of our templates, we had to cut the holes
within the template, as our metal sheet would sandwich in between the two
templates. We used screws to hold both plates together so it doesn’t shift when
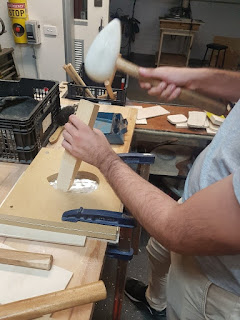
we are forming our blister with a nylon mallet and corking tool.
 |
| Using Corking Tool to hit the edges of the Sheet Metal |
When I had my templates and tools, I clamped the templates
on both sides of the work bench. Initially, I used the nylon mallet to hit
around the middle of my metal sheet so it can get some shape. Then to get the
shape around the sides, I used the corking tool I had made in the workshop to
hit the edges, so it can get some definition within the shape. My hits were
strategic, as I was being careful I wouldn’t puncture the metal sheet by
stretching it.
 |
| Forming the Shape of the template |
After the shape was established, I unscrewed both sides of
the template and the finished product was as per the below.
 |
| Final Blister |
Looking forward for the fuel tank.
Comments
Post a Comment