Posts

Fuel Tank

Image
Fuel Tank - Major Assignment  To commence our major assignment, we were presented with two types of fuel tanks that as a group we were to replicate a 1:1 scale. As a group, we choose the peanut fuel tank that we were going to complete rather than the other fuel tank which required extra work with dips, curves and bends within the tank. As we opted for the peanut fuel tank, we started to measure the tank for actual dimensions, so that when we use Auto Desk Slicer to create the 3D model, we can get it to that 1:1 scale. Once we created the template on Auto Desk Slicer, we were required to use the laser cutting machine to cut the templates. Slowly, the laser cutter separated our fuel tank into 24 pieces, which we had to assemble carefully, however even though it was fully assembled, it still felt wobbly. To rectify this, we asked Gabe for access to the hot glue gun and started to spread it on the edges and corners of the template. After two minutes, the template began to become ...
The Blister

Image
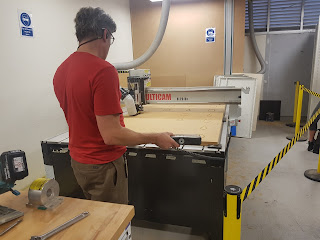
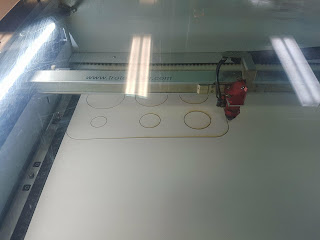
THE BLISTER Within this week’s lecture, we were being assessed on shaping and forming a blister from metal sheeting. When we presented ourselves within the design labs, we came were introduced by Russell who gave us a theoretical lesson on how to form and shape the blister. We were instructed that we will be forming our templates via CNC Machines which Edward had cut for us.  CNC Machine creating the templates One we had both of our templates, we had to cut the holes within the template, as our metal sheet would sandwich in between the two templates. We used screws to hold both plates together so it doesn’t shift when we are forming our blister with a nylon mallet and corking tool.  Using Corking Tool to hit the edges of the Sheet Metal When I had my templates and tools, I clamped the templates on both sides of the work bench. Initially, I used the nylon mallet to hit around the middle of my metal sheet so it can get some shape. Then to get the shape ar...

The Tray

Image
THE TRAY In this week’s lesson, we were being assessed on shaping and forming metal sheet into a small tray. Initially, we went with Martin, to mark out the template with the assistance of the laser cutting machine. This template allowed us to see which radius we would pursue i.e. the smaller the radius the harder shaping the sides and corner however the better the finish that is achieved.  CNC Machine making Template of Radius  Curving out the edges of the timber template on the sander After we had decided what radius we were going to attempt we got our two pieces of timber to make out templates. Once my partner and I had drawn our template on both pieces of timber, we went to the sander to carve out our template on piece of timber. Once we had our template of both pieces of timber, we had to shape our timber.   Marking out template on Metal Sheet In shaping our timber, we initially were going to use t...